3 years ago
Jakub Dominik
NVIDIA Control Panel can be a convenient tool for improving image quality or FPS beyond the in-game options; it can even trick DLSS into rendering in a higher resolution. It is a handy tool most gamers don't use, and it has benefits for both low and high-end GPUs. We explain every setting within the panel and guide you on making your games look even better.
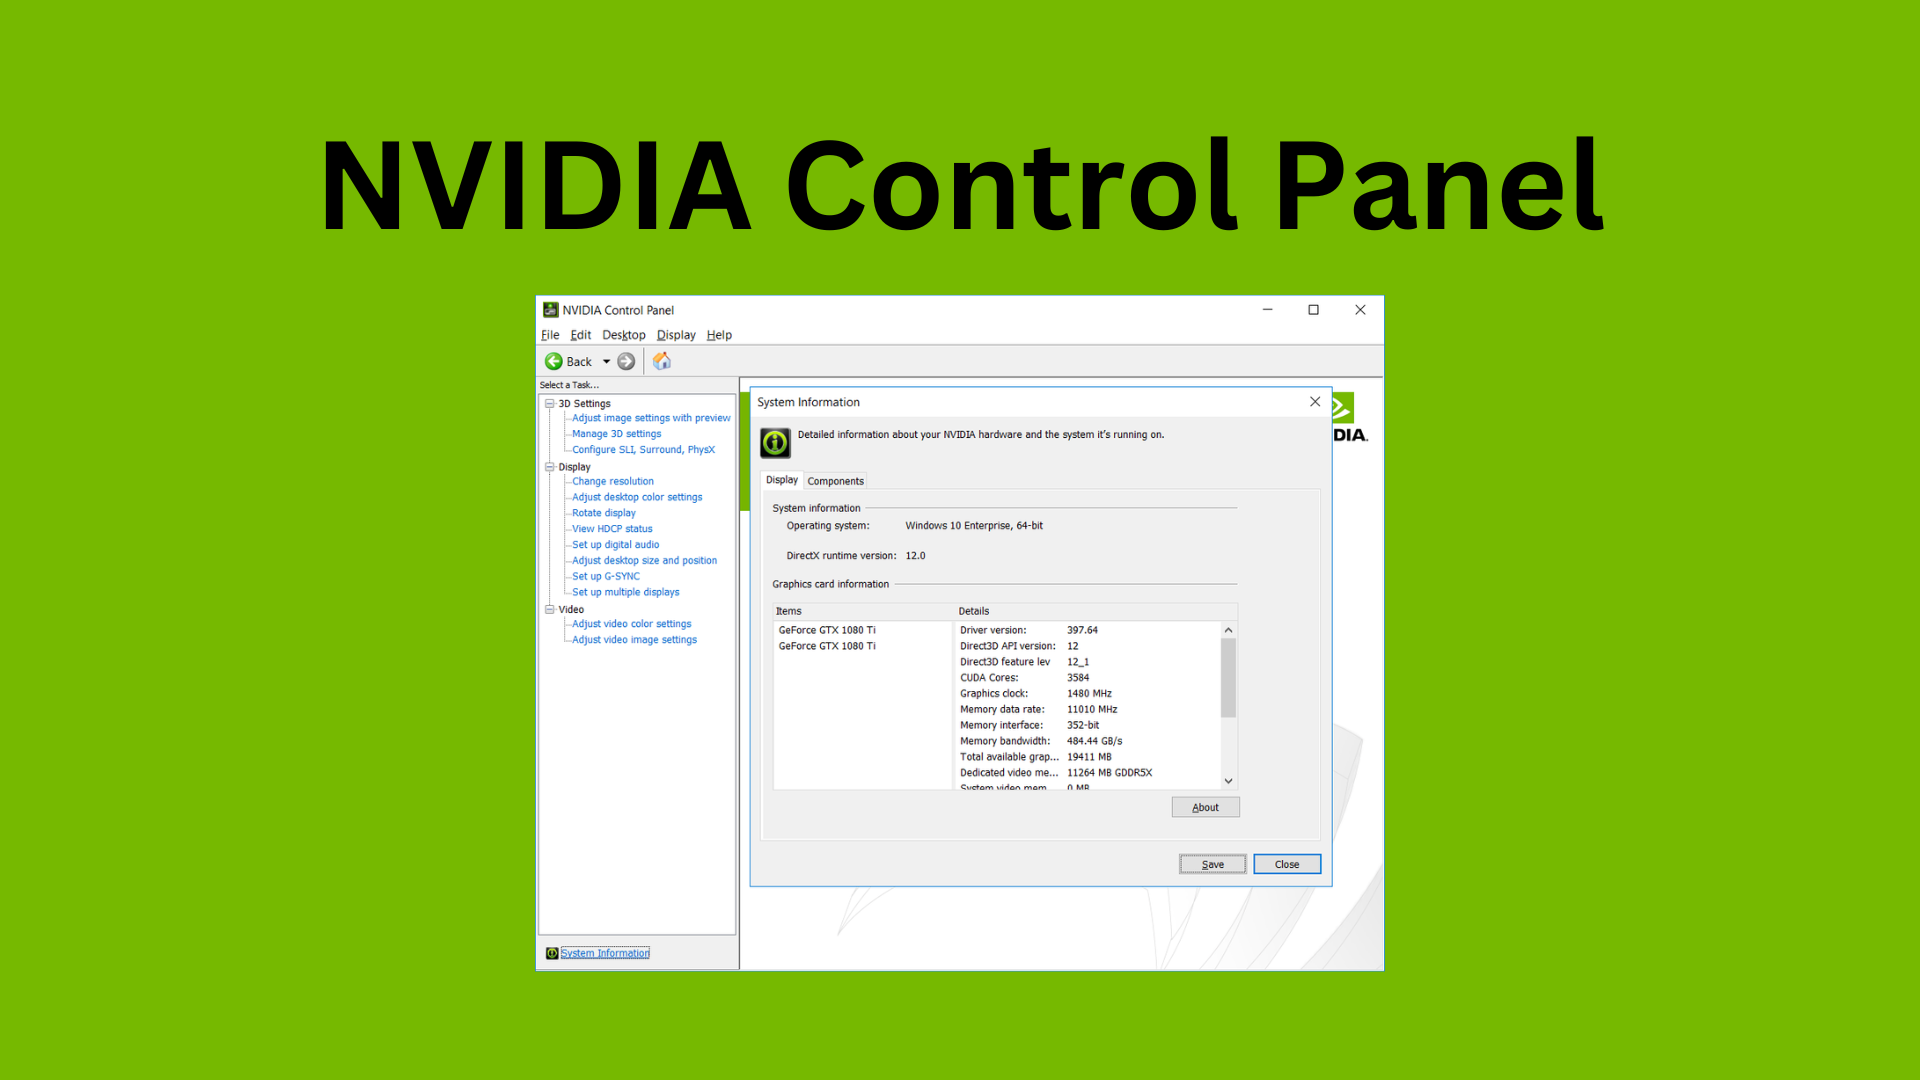
You can access the NVIDIA Control Panel simply by typing it in a Windows search bar.
https://stock-checker.com/uploads/OptimiseNVIDIACP2.png
**Set the panel to use Advanced 3D settings.**
To make any meaningful changes, we need to make sure the "Use the advanced 3D image settings" option is selected before we proceed. You can find it on the main screen of the panel, under the 3D settings drop-down menu on the left, which then cascades into three sub-options. Select "Adjust Image settings with preview".
https://stock-checker.com/uploads/OptimiseNVIDIACP5.png
**We make every change in the Manage 3D settings panel.**
This is under the same "3D Settings" drop-down menu, option number 2, "Manage 3D settings". A panel with many configurable options will come up. Notice that you will have two tabs on top: Global Settings and Program Setting. The former allows us to apply any changes globally, which would apply to any game you run. The latter lets you specify which game you want specific settings applied to. Now let's go through every option within 3D settings:
https://stock-checker.com/uploads/OptimiseNVIDIACP3.png
**Image Scaling (Only for non-DLSS capable GPUs)**
This option was formerly known as image sharpening, but it has now evolved into a scaler and sharpener. This allows you to scale down your resolution while sharpening an image simultaneously. The best use scenario would be if your game cannot constantly hit 60fps; you can set the scaling only to render 90% of your resolution, which would help increase your FPS. Thanks to the sharpening, you would retain much visual fidelity. This is a very case-by-case option and is only recommended if you have GTX 10 Series GPU or lower.
https://stock-checker.com/uploads/OptimiseNVIDIACP1.png
**Ambient Occlusion (Only for old games)**
AO is responsible for environmental lighting and shadows. Most new games have this option in the game. Therefore this setting should be set to **OFF** in the panel, but if you want an older title to look even better, you can turn this setting to quality mode.
**Anisotropic filtering**
Increases visual quality of textures. Set it as **Application-Controlled** or crank it up to 16x if you have a high-end GPU for the best possible visuals.
**Antialiasing – FXAA**
A technique to make sharp edges appear smooth. This option is best set to **OFF**, as most games have their AA enabled.
**Antialiasing – Gamma correction**
This corrects the brightness values in images that use antialiasing. It should always be set to **ON**.
**Antialiasing - Mode**
This option is handy if you do not use DLSS in games and should be configured separately for each game. The setting has three options: OFF, Enhance and Override.
https://stock-checker.com/uploads/OptimiseNVIDIACP4.png
**The Enhance** option makes any in-game built-in antialiasing better. Still, it should be used only with high-end GPUs because the performance hit is significant.
**The Override** option ignores in-game antialiasing and uses NVIDIAs, which could provide a sharper image depending on the game.
It is best to leave this setting to **OFF** mainly because the outcome would differ in nearly every game. Still, you can improve game visual clarity if you test which setting looks best by trial and error.
**Antialiasing – transparency**
Applying antialiasing to transparent textures does not provide meaningful benefits, so set this to **OFF**.
**Background Application Max Frame Rate**
Allows you to set up max framerate for minimised applications. Enabling it and setting fps to 30 could help laptops preserve a little battery and reduce noise.
**CUDA –GPUs**
Always set to** ALL**. This setting dictates the GPU and how many CUDA cores it should use.
**DSR factors (with DLSS trick)**
This is a simple upscaler. It artificially scales up your resolution and provides overall sharper image quality in games. However, because of the framerate hit, it is recommended to only use for older titles that max out your framerate already unless you use DLSS. You can upscale your resolution anywhere from 1.2x to 4x your native resolution. If you have some old titles you like to play, this will improve the visual quality by a significant margin.
For new games that use DLSS you can use DSR to trick DLSS to upscale from a higher resolution than it normally would, producing sharper image. For example if your monitor is 1440p and you use DLSS, the image would be downscaled to 1080p and upscaled back, however if you set DSR to 4k the game and DLSS will think that is your native resolution so it will downscale from 1440p this time around. It have a medium FPS hit but it should be negated with DLSS anyway.
**Low Latency Mode**
This option reduces overall latency, improving gaming and your FPS response delays. This should always be set to ON or ULTRA if you have a G-SYNC display.
**Max Frame Rate**
This option limits your max FPS. It is recommended to set it to OFF if you play competitive games that can output very high framerates, like Valorant or CS, for example. However, if you have a G-SYNC display and play any other games, it is recommended to set your FPS 3-4 frames below your monitor refresh rate, i.e. if your monitor is 144hz, you should limit max FPS to 141FPS for G-Sync and V-Sync to work as optimal as possible. More on this later.
**Monitor Technology**
This option only comes up if you have a G-Sync capable monitor and always should be set as G-sync if possible. G-Sync prevents screen tearing when your frames fluctuate a lot. It only works within your monitor refresh rate range; hence, I advise limiting your FPS to just below your monitor max refresh rate.
**Power management mode**
This optimises the power to performance delivery of your GPU. Set it to maximum performance to fully utilise your GPU at the cost of power efficiency and higher temperatures.
**Shader Cache Size**
Control disk space to use for shader compilers. The default value is 4GB. Setting this value to **10GB** and even 100GB is recommended if your system drive is big enough. This will significantly reduce or eliminate any shader loading-related stuttering in games.
**Texture filtering – Anisotropic sample optimisation**
Limits the number of texture samples used by your GPU. This option increases FPS in games with minimal loss of quality but might present texture shimmering in some games.
**Texture filtering – Negative LOD bias**
Sharpens static images. Please set it to **Allow** for an increase in FPS or **Clamp** to improve image quality.
**Texture Filtering – Quality**
Optimise filtering of textures. Mid to High-end GPUs should have this set to quality while a lower end to performance, but you are free to experiment on this one.
**Texture Filtering – Trilinear optimisation**
Smoothes out textures in games. Make sure this is always **ON**.
**Threaded optimisation**
It allows games to use multiple CPU cores and should be set to **AUTO** by default.
**Triple buffering**
It allows bulk frame loading to prevent screen tearing when rendering frames. Useless these days, so set it to **OFF**.
**Vertical sync**
This is a pre-G-Sync/Freesync technology to avoid screen tearing, but it dramatically impacts game input lag. It evolved into a G-Sync support module. It should be set to **OFF** if you __do not have__ a G-Sync display. For those with G-Sync compatible displays, make sure this is globally assigned to **ON** but always remember to turn OFF Vsync in in-game options.
**Virtual Reality pre-rendered frames**
Contrary to the description, this is not a VR-exclusive option. It dictates the number of frames the CPU can prepare before feeding them into the GPU. The optimal choice here is 1.
**Finishing up**
Remember to hit apply after you're done amending the settings. Now that you understand what each option does, you can significantly improve your gaming experience game by game. It might take some trial and error, constantly relaunching a game, but if you strive for the absolute best visuals or max framerate, the NVIDIA Control Panel is one of the best tools to achieve it.
https://stock-checker.com/uploads/OptimiseNVIDIACP6.png
**Disclaimers**
[Jakub Dominik](https://twitter.com/Hexagon90x) is a gaming and technology journalist for Stock Checker.